top of page

Production Investment Castings
Annual or repeat orders.

Exceptional ROI for your production or prototyping projects.
SOME OF THE BENEFITS INCLUDE:
Extreme freedom
At Invest Cast Inc, we know product design is ever-changing and always improving. That’s why we allow you extreme freedom in part design. Your vision and our flexibility ensure that your ideas become reality – with speed and precision.
Wide Selection of Alloys
Our wide array of castings are currently poured in alloy steel, tool steel, stainless steel, cobalt base, nickel base, copper base and aluminum base.
Excellent Surface Finish
Production – 125 RMS or Better
Prototype – 175 RMS is typical
Economical Low and High Volume Process
Low volume production can be accomplished with relatively simple, single cavity tools while high volume production requirements can be met with fully automated multiple cavity molds.
Close Tolerances
Standard tolerances are ±.005″ per inch, 1/2 of Standard is possible.
Thin Walls
Wall thickness can be cast as thin as .025″, depending on alloy and part configuration.

HOW IT WORKS
Production Casting Process

Wax Injection
The first step in the investment casting process is to produce a wax replica of the desired part. This is accomplished by injecting wax into a die cavity.

Pattern Removal
After injection, the wax replica is removed from the injection tool. Parts are inspected for tolerance and then cleaned for assembly.

Wax Assembly
Patterns are “wax welded” to a central sprue or cluster to facilitate pouring. Many patterns are attached to sprues for increased efficiency
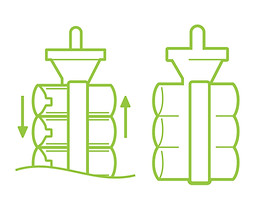
Shell Building
The assembled sprue is then dipped into a ceramic slurry. After draining, the sprue is then coated with a fine silica or stucco sand. This process is repeated several times using progressively coarser grades of ceramic material to build sufficient “shell” strength.

De-waxing
The shell built sprue is then de-waxed by rapidly heating in a furnace or autoclave, leaving behind the perfect shell cavity free of wax.
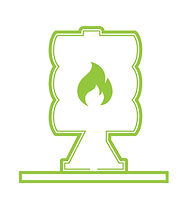
Preheating shell
The shells are then fired at 1600° to 2000°. This cures the shells interior into a smooth, hard and strong ceramic material.

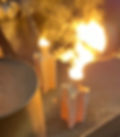
Pouring
The sprues are then removed from the furnace to have the molten metal poured into them. Once the shell is filled with metal, it needs to cool and have the shell material removed from the outside of the casted parts.
Part Finishing
Once clear of ceramic shell, the cast parts get cut off from the sprue, then they are brought through a number of finishing processes. These processes include various cleaning stages, grinding, plating, machining, and heat treat.

bottom of page